Brownell's BRN-180 Build Part 10 and 11: Wood Handguard Cover

This wood handguard cover for the Brownells BRN-180 has proven to be more work than I ever originally anticipated, but it is also proving to be very rewarding also. When set about this project, I determined it would be the most safe to perform all of the outside cuts and drilling prior to carving out the inside and mating it to the upper hand guard. I figured it was best to do all of the outside work with all of the wood inside still intact so as to keep it as strong as possible while making the outside cuts and holes.

The 3D printer has been an invaluable tool with this project. Being able to use my 3D printed model as a template has been such a huge benefit and I honestly don't know that I could have done this without it. The next step on the wood hadnguard cover was to drill out the holes I will eventually use for the MLock screws. Not only did I need to drill out for the screws, but I also needed to countersink them so they looked nice and did not protrude too much.

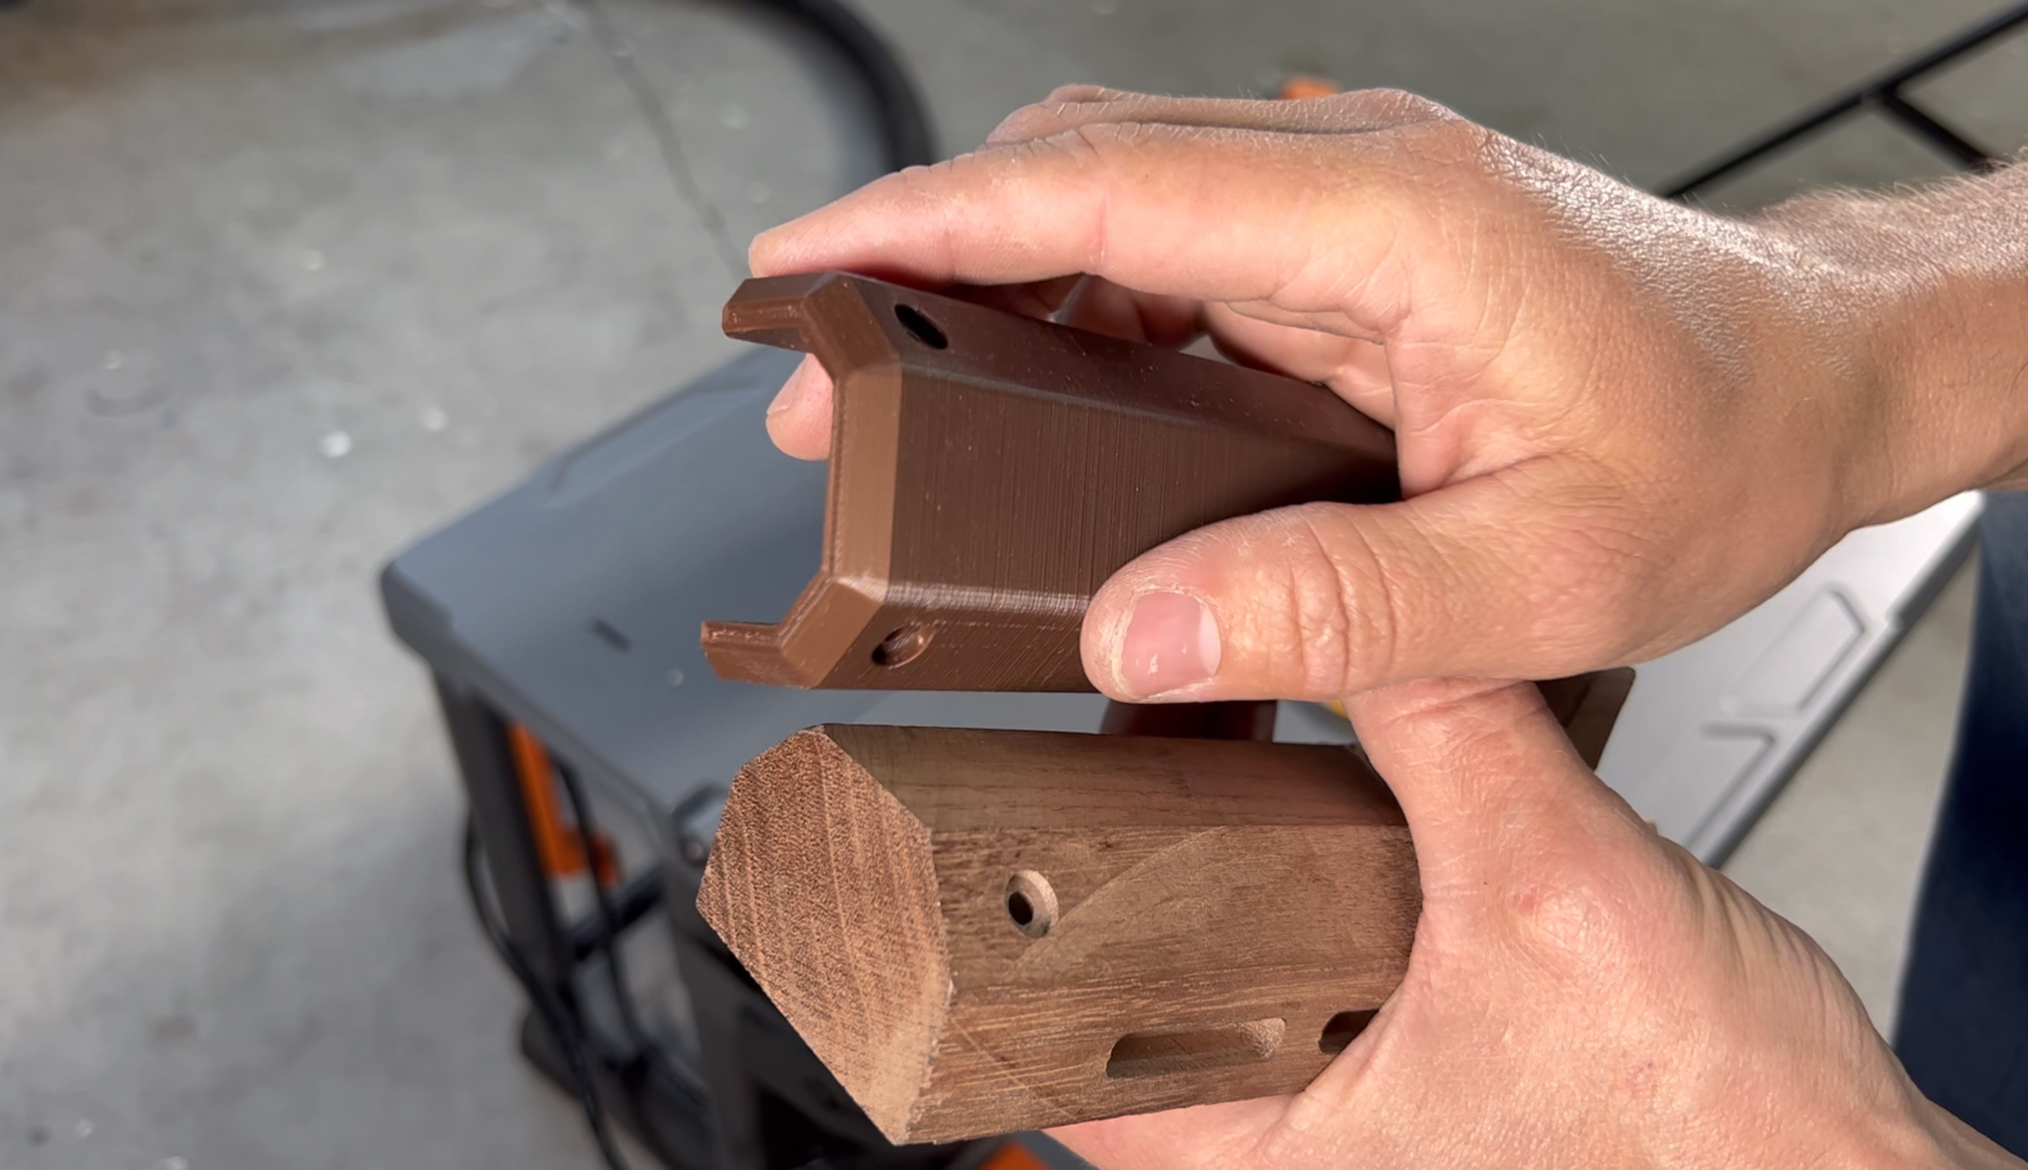
What I found was that my 3D printed template could not be used to mark where the screw holes would go or how the hand stop would be shaped. So I went back into CAD and sliced apart the prototype and printed these yellow template pieces.


I was able to use the yellow printed pieces to draw on the walnut. Having a physical template made for easy marking and very accurate also.

What I noticed after drawing the lines from the first side was the hand stop was not perfectly square at the back and decided to measure from the back to make sure the two sides were drawn in a perfectly symmetrical way.

The end result was perfect. I had perfectly spaced and positioned markings.

Since I needed to countersink the holes to accommodate for the head of the MLock screws, I found an end mill bit which had the correct size/circumference.

Getting the floor standing drill press and cross vice positioned correctly proved to be an arduous task. Because the cross vice needed to be mounted sideways on the drill press table; not only did I need to pitch it at a 45 degree angle, but I also had to adjust the bed angle to make sure the part was level and perpendicular to the end mill bit.


After getting the drill press set up correctly, I performed the countersink with the end mill bit and continued to check the depth with my micrometer.


I was able to readjust the walnut piece in the cross vice and was able to countersink three out of the four holes.

Unfortunately because of the protrusion of the hand stop wood, I was unable to spin the walnut piece to countersink the fourth hole.


Because getting the drill press and cross face position perfectly is an arduous task, I decided to keep it set up at this angle and drill the center holes in the parts which were already countersunk. So after lowering the bed down enough I swapped the and mill bit out with a drill bit and drilled out the three holes.


After getting the drill press bed repositioned over to the other side, I utilized the same method to counter sink and drill the fourth hole.


The holes turned out perfectly and looked beautiful with the Mlock screws installed.

Next I turned my attention to the handstop and I returned to my orbital sander.
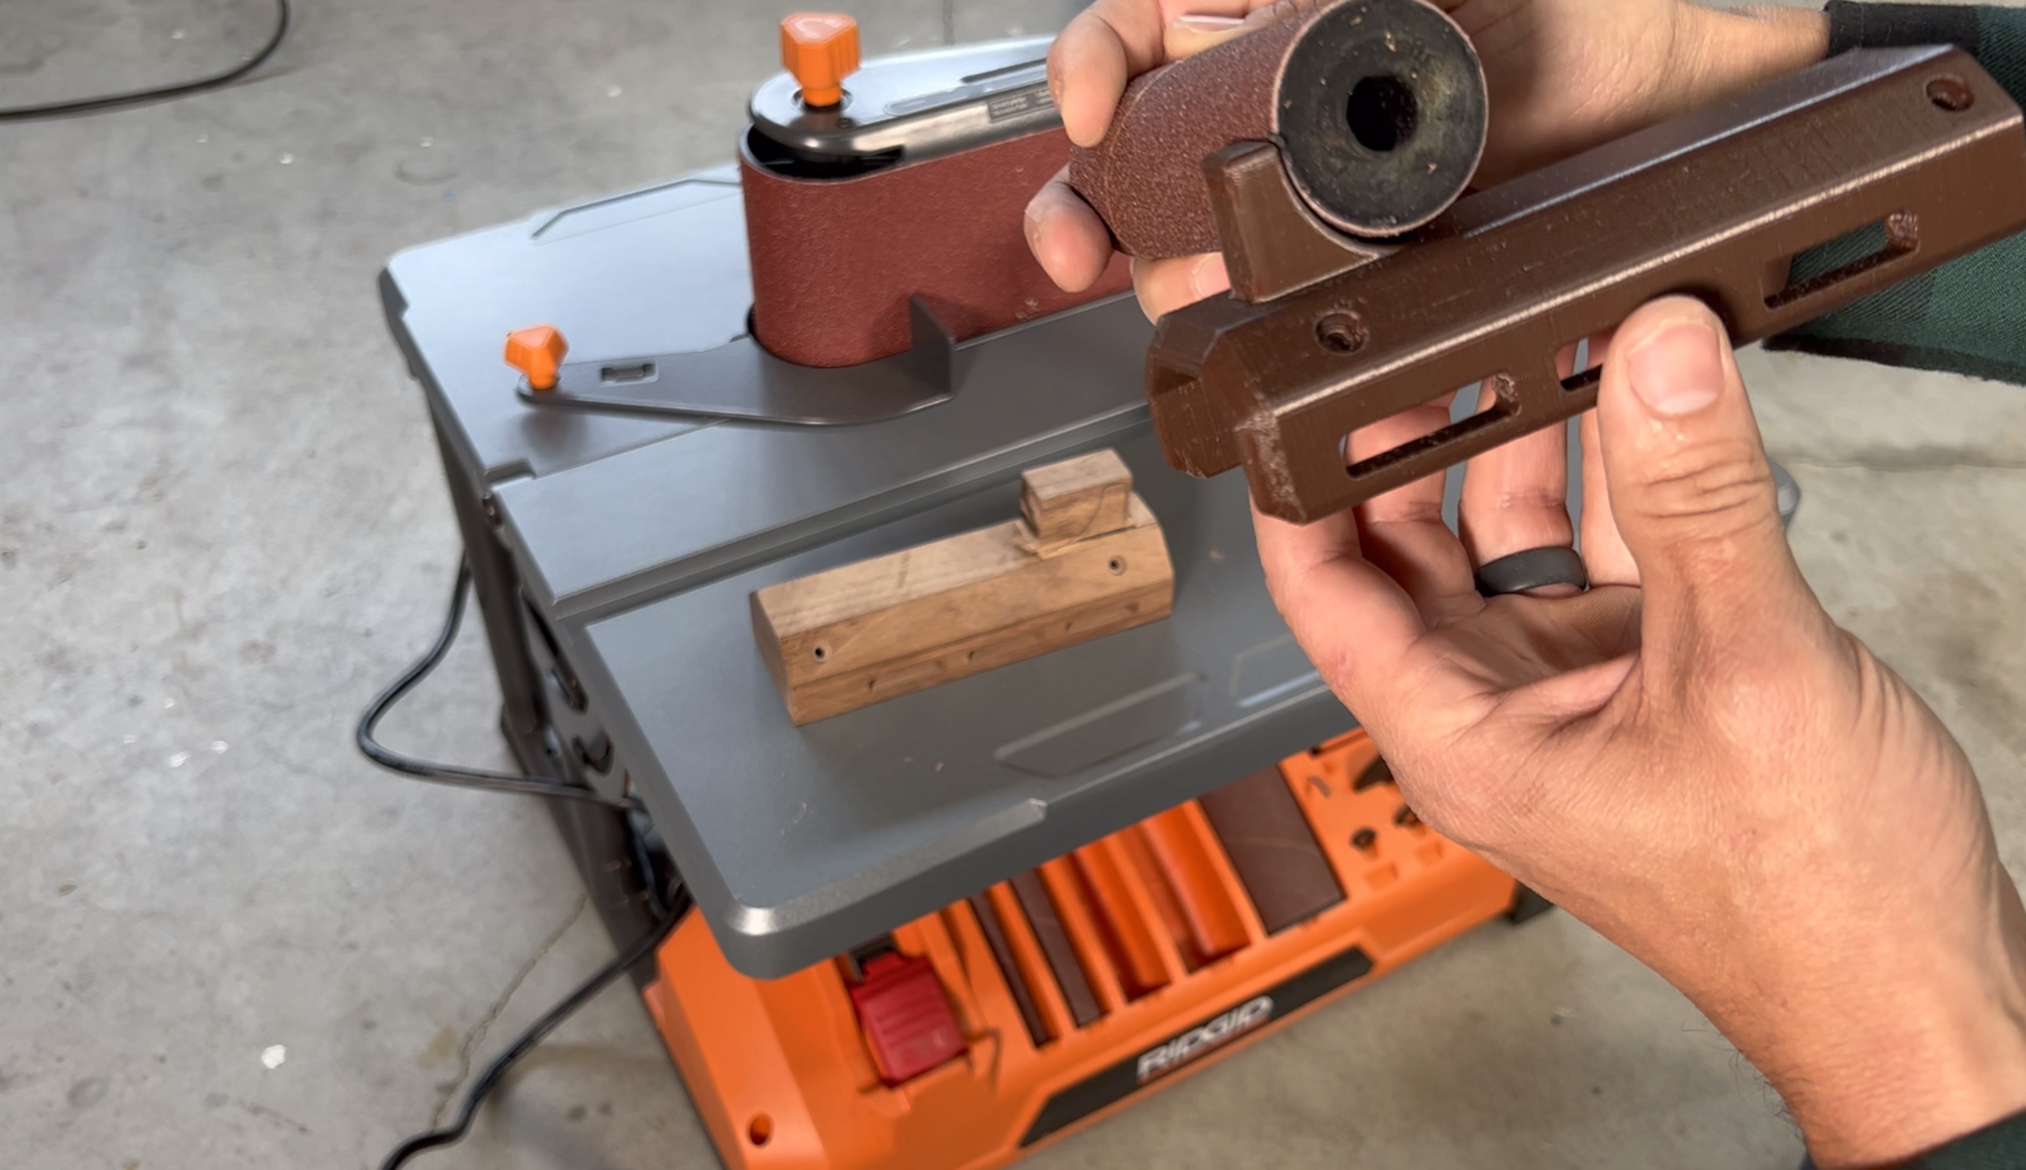

I used the 3d printed template to find the right size drum needed to carve the bandstop down.

I needed to be careful while sanding as to not sand down so far that I would sand into the main body of the handguard cover.


I used the oscillating sander, and sanded away the wood until the radius was perfectly aligned with what I had previously marked.


I used extra care and finesse to sand the top (eventually the very bottom) of the hand stop with the drum on the orbital sander.


The hand stop was too wide and needed to lose about 1/8th of an inch off each side.

My original plan was to use the orbital sander to shave it down with the smallest diameter drum, but I found the nut on the top of the drum to be prohibitive in getting the handguard cover close enough.

But I was able to turn the piece on its side and shave the back side of the hand stop closer to the final shape.

Holding up the 3d printed templated revealed I was super close to the final shape but still had a bit of refinement left in getting to the areas where the 1/2" drum couldn't reach.


After thinking about how to accomplish trimming the sides of the hand stop down, I determined the end mill bit and cross vice would be best suited to get the exact depth I needed and it worked perfectly.

I decided I would use the same method to remove the curve at the back of the hand stop.

This worked very well at cutting a nice 90 degree edge.
On my 3d printed prototype, I chamfered all of the edges and decided the orbital belt sander.


I used a framing square and my eye to sand all of the edges into nice 45 degree chamfers.

The edges were not perfect but they looked good.

There were a few areas on the outside of the handguard cover which I was unable to reach with the drill press or orbital sander.

I opted to use my Dremel with a drum sander to shave off a few areas which would be too difficult to hand sand.
When looking back, these steps seem very minor but the details required made them take longer to accomplish than I had anticipated. It is a labor of love, and I can really see it taking shape!
If you want to watch the video of this portion of the build you can find it at the following link;


Comments
Post a Comment